✨ New Arrivals Just Dropped!Explore

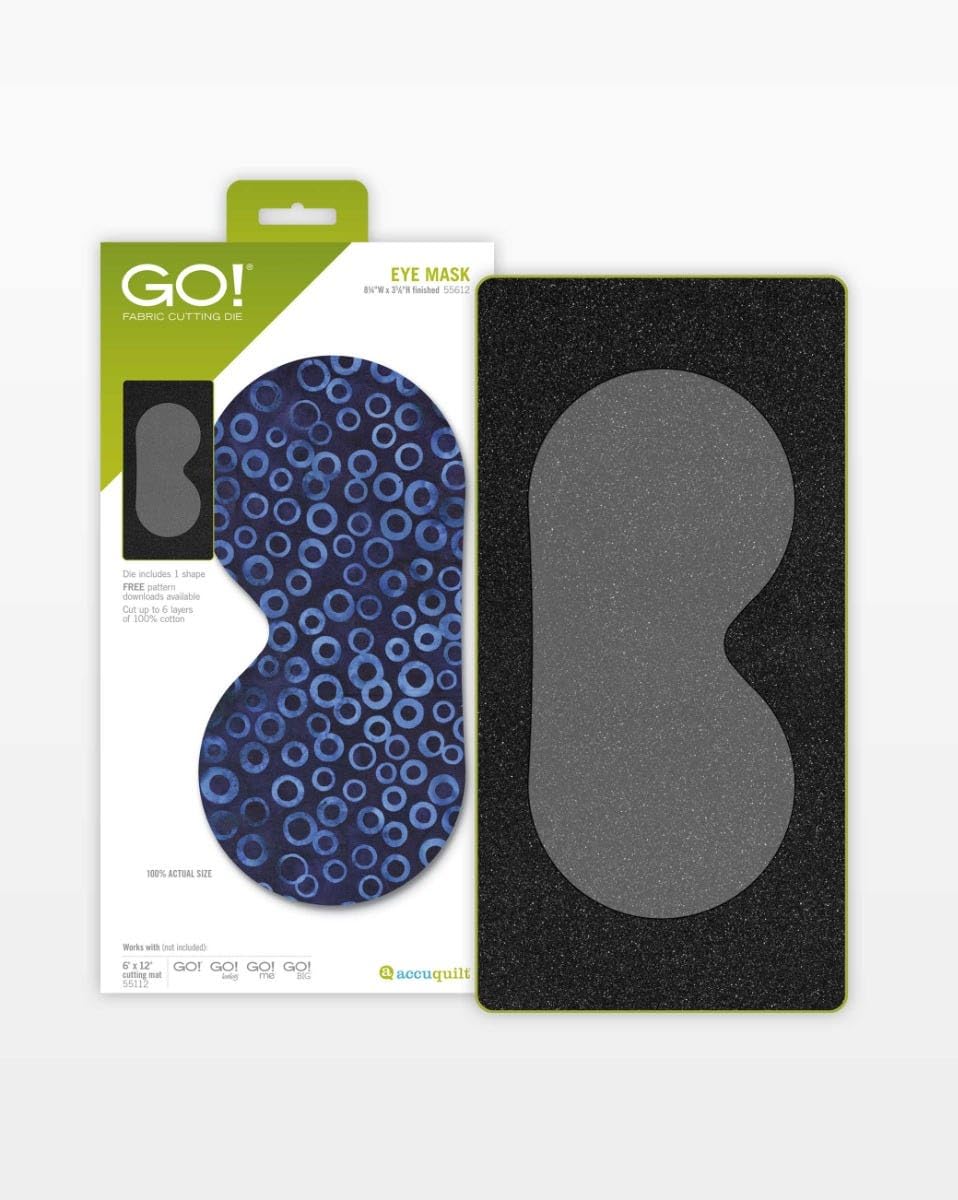
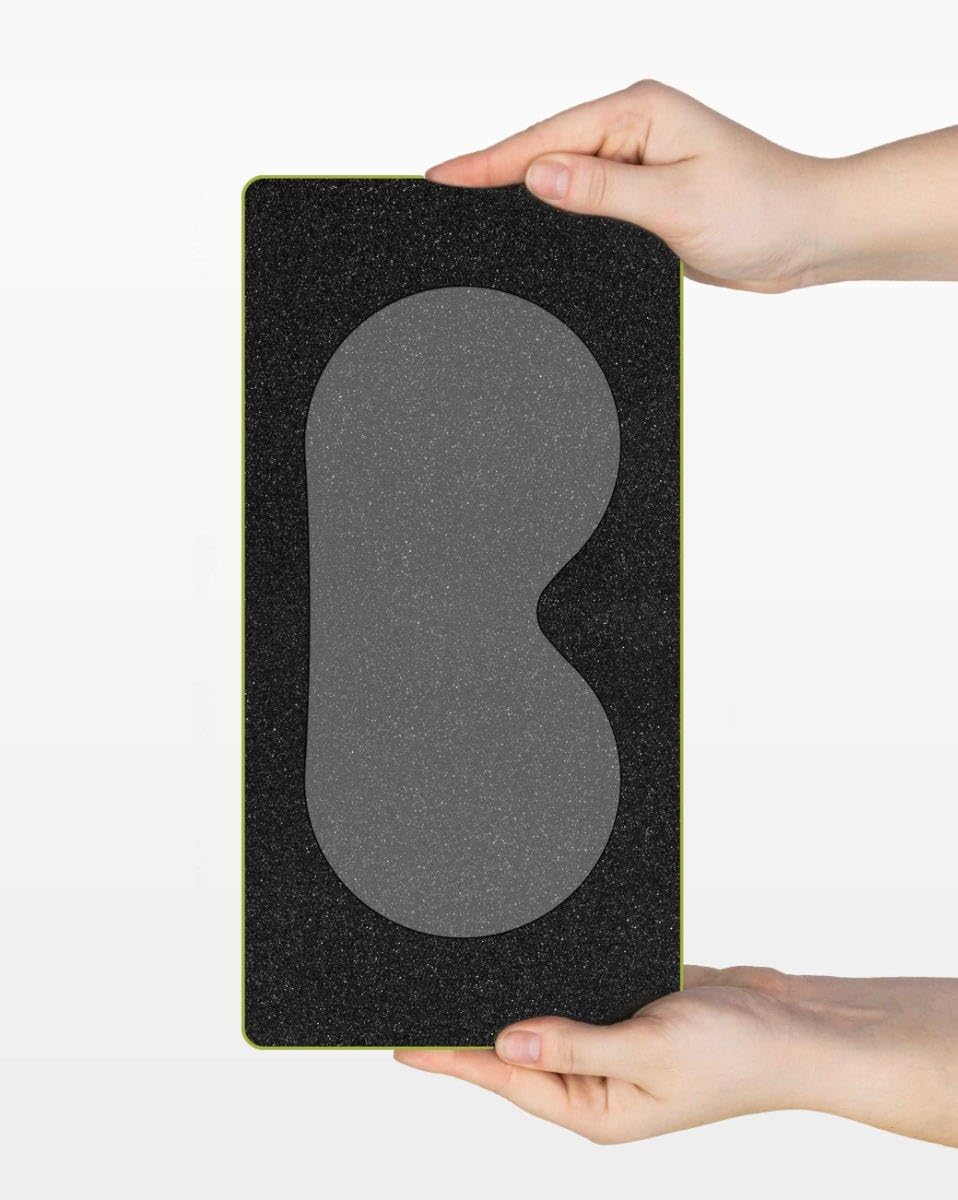
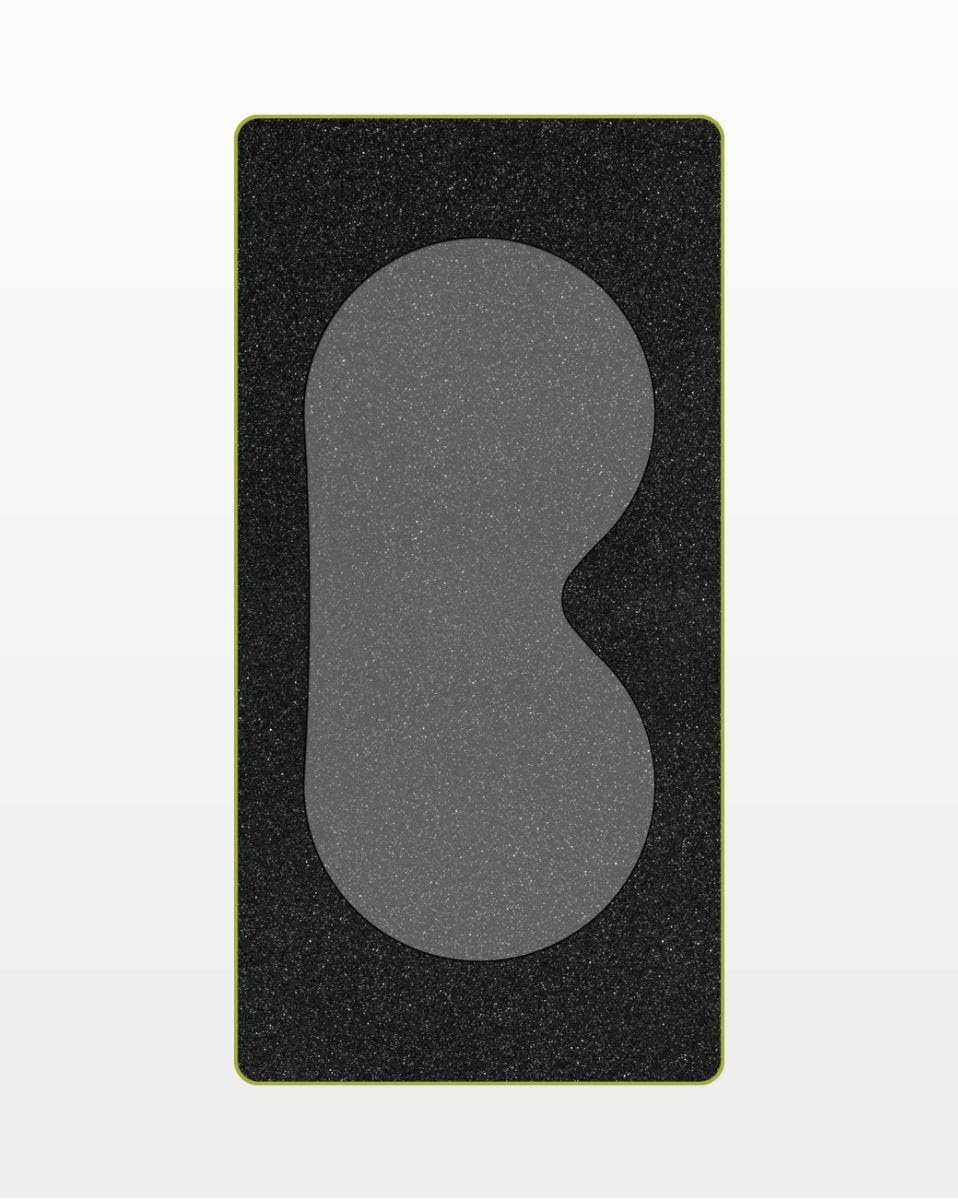
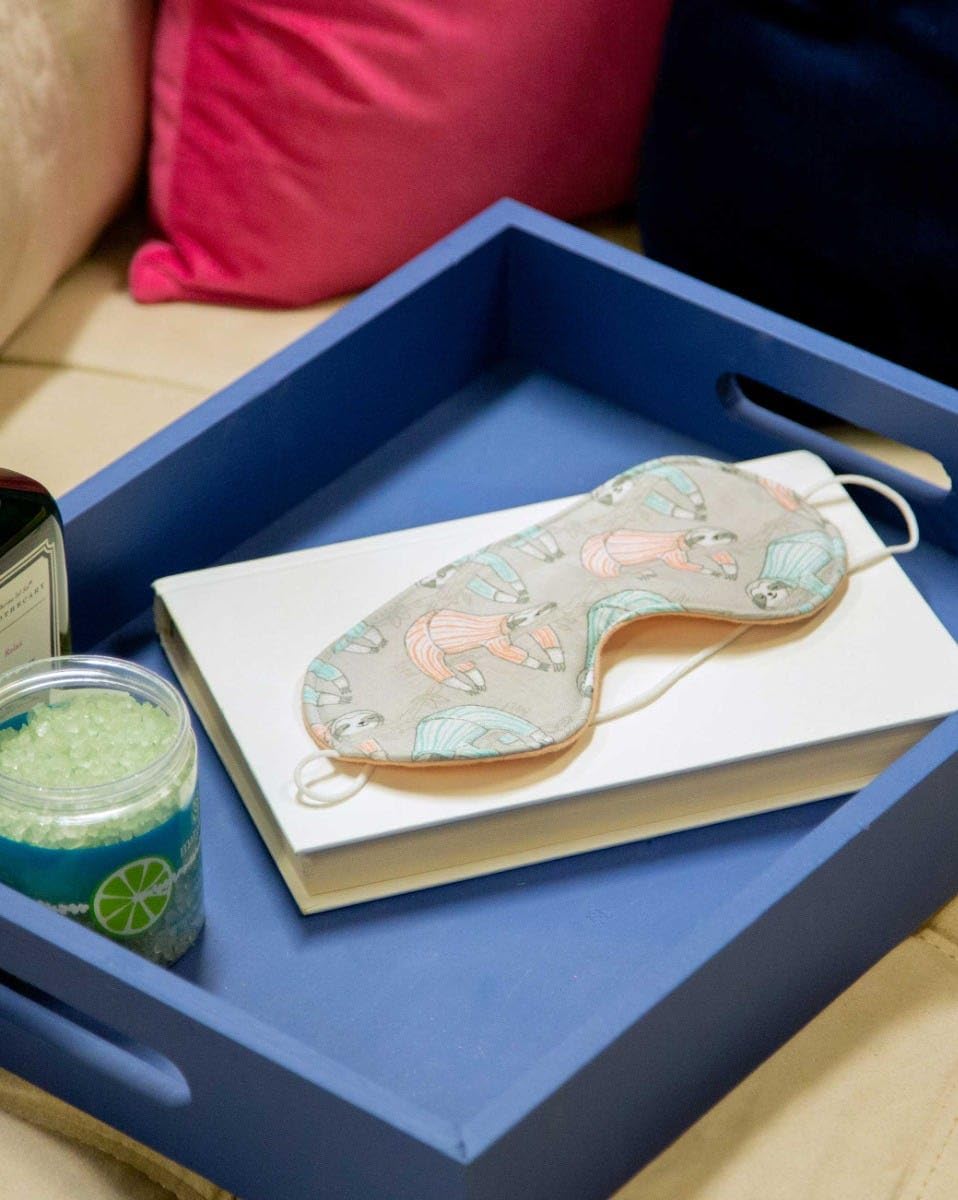
Accuquilt GO! Eye Mask Die
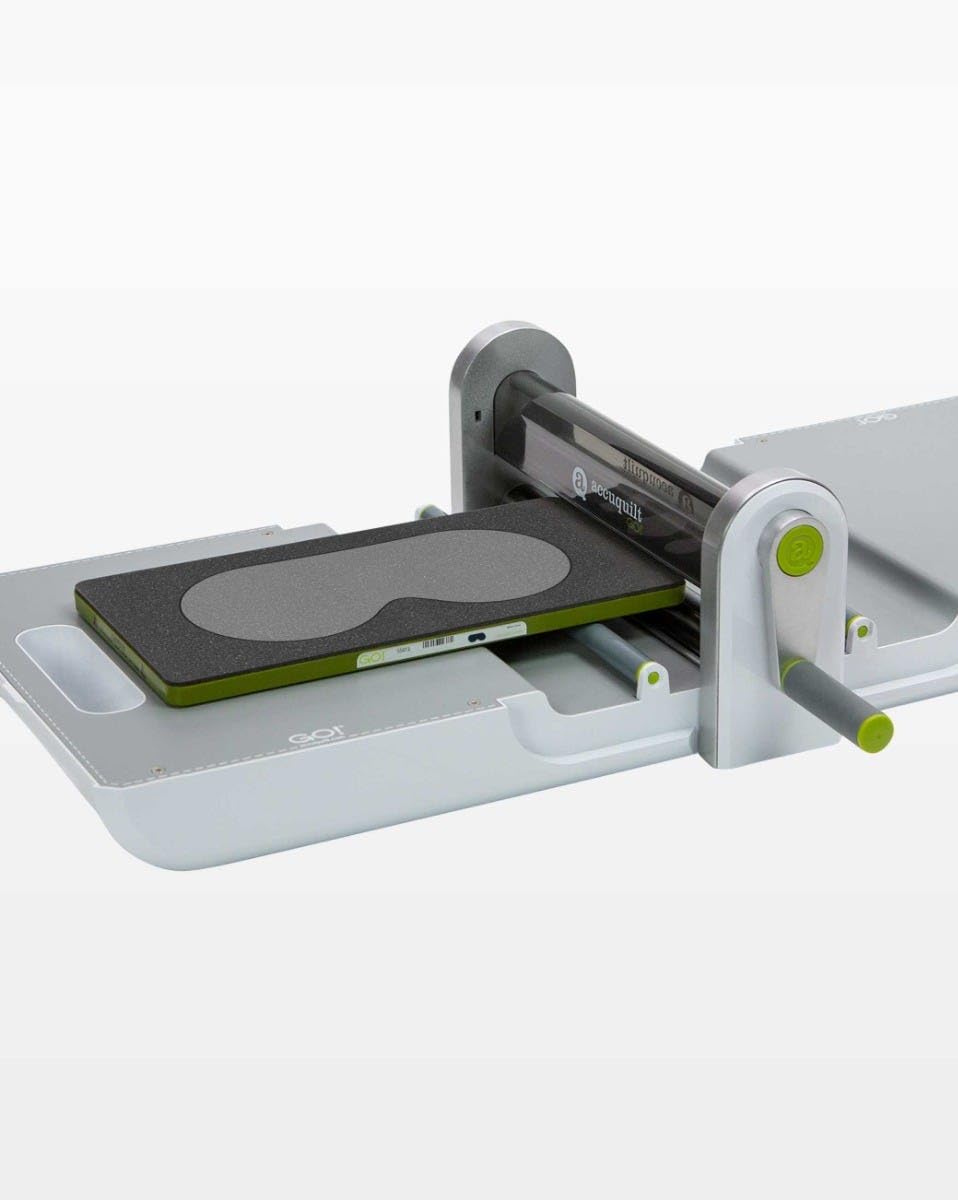
- To make one eye/sleep mask: Lay one 9½" x 5" piece of lining fabric right side up on the table in front of you. Lay one 9½" x 5" piece of outer fabric on top of lining fabric, right sides together. Top with one 9½" x 5" piece of fusible fleece or batting. Place all three layers together on the GO! Eye Mask die, cover with a mat, and cut.
- Cut a piece of ¼" elastic to fit your head without stretching. Being careful not to twist the elastic, lay it on top of the right side of the lining piece, pinning the raw edge of the elastic to the raw edge of the lining, as shown.
- Keeping the cut pieces in the same order (lining fabric right side up, then outer fabric right side down, topped by batting), pin pieces together. While pinning, be careful to keep the loose part of the elastic inside, so only the two raw edges get stitched into the mask. Stitch a ¼" seam allowance around the mask, leaving a 2" opening for turning the mask inside out. Backstitch when starting and stopping.
- Clip curves, turn mask right side out. Batting should remain inside. Press all around the edges. Whipstitch opening closed and topstitch as desired.
- If you need personalized gifts, GO! Eye Masks can be cut in minutes and sewn quickly and easily!
- GO! Eye Mask is a DIY (“do-it-yourself”) Project die. These are popular shapes of projects that you make for yourself, to give as gifts, or to sell.
- No templates are required! The GO! Eye Mask die includes one shape that is difficult to cut by hand.
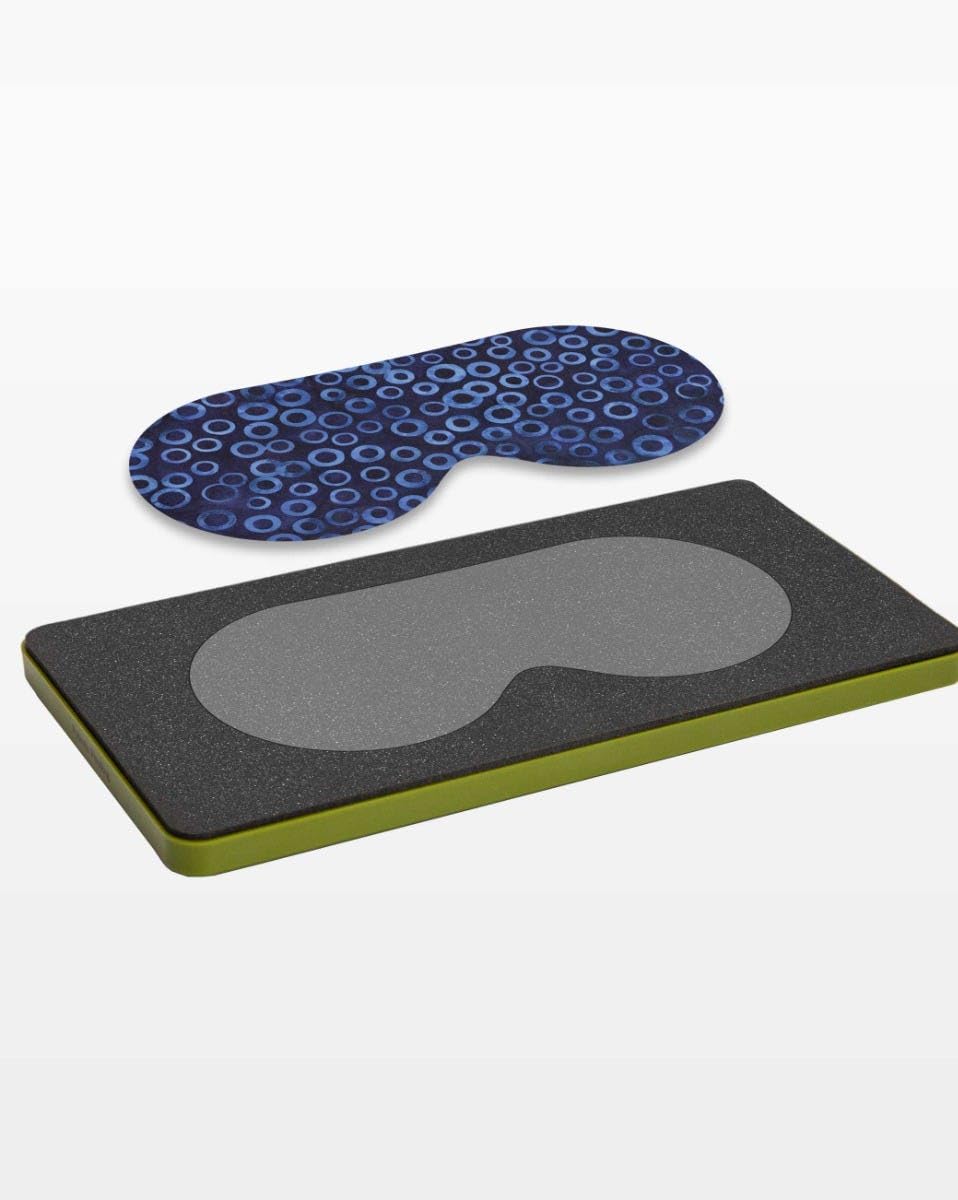
- Make it personal! The area on the eye/sleep mask is designed to work with applique shapes that are 2" high or smaller. Find a complete list of compatible AccuQuilt applique shapes at accuquilt.com.
$470.00
Accuquilt GO! Eye Mask Die—
$470.00
Product Information
Product Information
Shipping & Returns
Shipping & Returns
Description
- To make one eye/sleep mask: Lay one 9½" x 5" piece of lining fabric right side up on the table in front of you. Lay one 9½" x 5" piece of outer fabric on top of lining fabric, right sides together. Top with one 9½" x 5" piece of fusible fleece or batting. Place all three layers together on the GO! Eye Mask die, cover with a mat, and cut.
- Cut a piece of ¼" elastic to fit your head without stretching. Being careful not to twist the elastic, lay it on top of the right side of the lining piece, pinning the raw edge of the elastic to the raw edge of the lining, as shown.
- Keeping the cut pieces in the same order (lining fabric right side up, then outer fabric right side down, topped by batting), pin pieces together. While pinning, be careful to keep the loose part of the elastic inside, so only the two raw edges get stitched into the mask. Stitch a ¼" seam allowance around the mask, leaving a 2" opening for turning the mask inside out. Backstitch when starting and stopping.
- Clip curves, turn mask right side out. Batting should remain inside. Press all around the edges. Whipstitch opening closed and topstitch as desired.
- If you need personalized gifts, GO! Eye Masks can be cut in minutes and sewn quickly and easily!
- GO! Eye Mask is a DIY (“do-it-yourself”) Project die. These are popular shapes of projects that you make for yourself, to give as gifts, or to sell.
- No templates are required! The GO! Eye Mask die includes one shape that is difficult to cut by hand.
- Make it personal! The area on the eye/sleep mask is designed to work with applique shapes that are 2" high or smaller. Find a complete list of compatible AccuQuilt applique shapes at accuquilt.com.